
Webflow is an easy to use website canvas creation tool anyone can get the hang of quick. The canvas tool can create interesting and powerful websites with useful interactions, integrations, visuals and more.
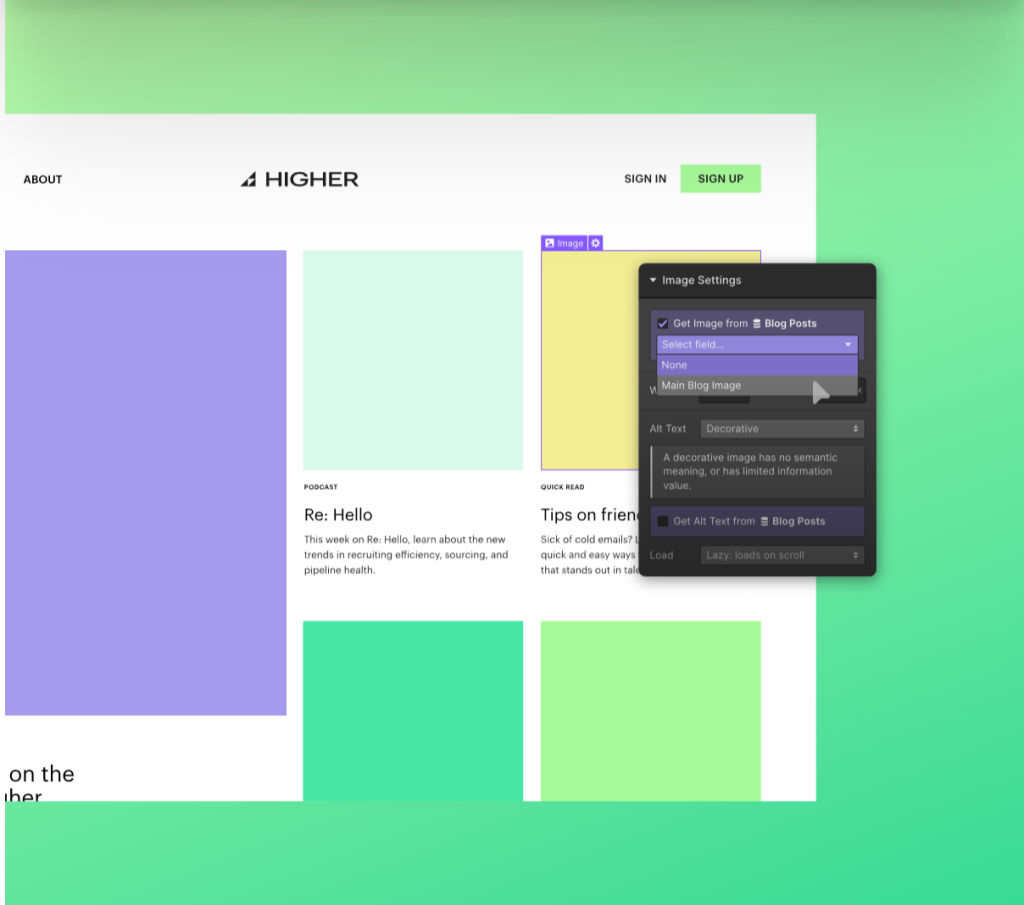
Webflow is popular among all types of people, from business owners and marketers to designers and music artists. The platform has a fully functional CMS (content management system) that allows you to manage and also publish content like blogs, products, videos and more.
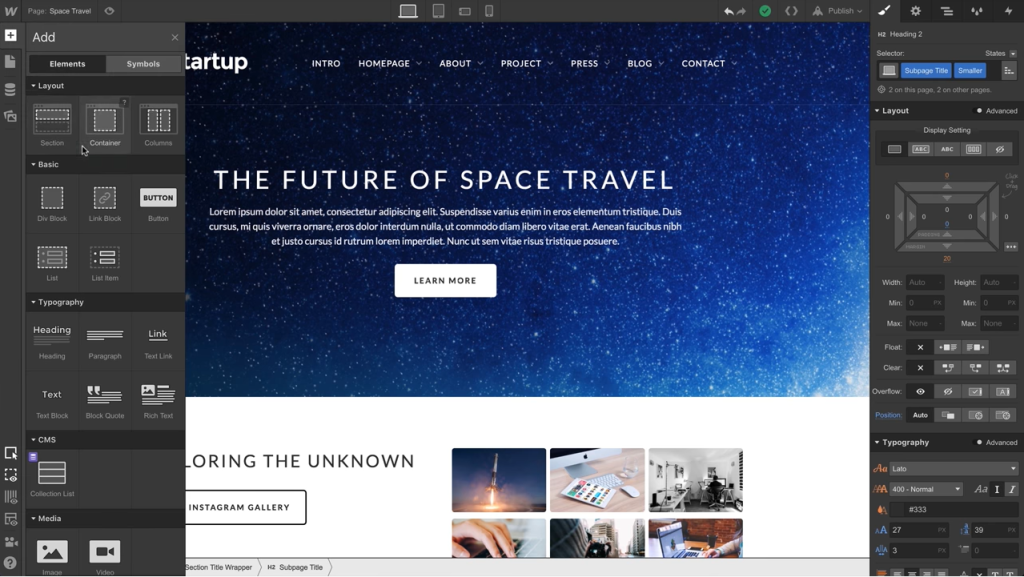
Webflow also has a vast array of templates to choose from as well as the full power of HTML, CSS, and Javascript in a visual canvas.
Webflow has added integration with Microsoft Clarity to make your experience building and operating a website more successful with user behavior analytics. Here’s how to get started with Clarity.
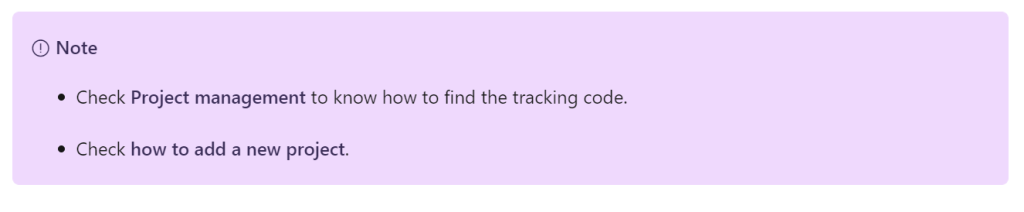
The first thing you need to do is locate your Clarity Project ID and copy it by following the below instructions:
Step 1
From the Clarity dashboard, go to Settings -> Overview.
Copy the Clarity tracking code from your specific Clarity project.
Step 2
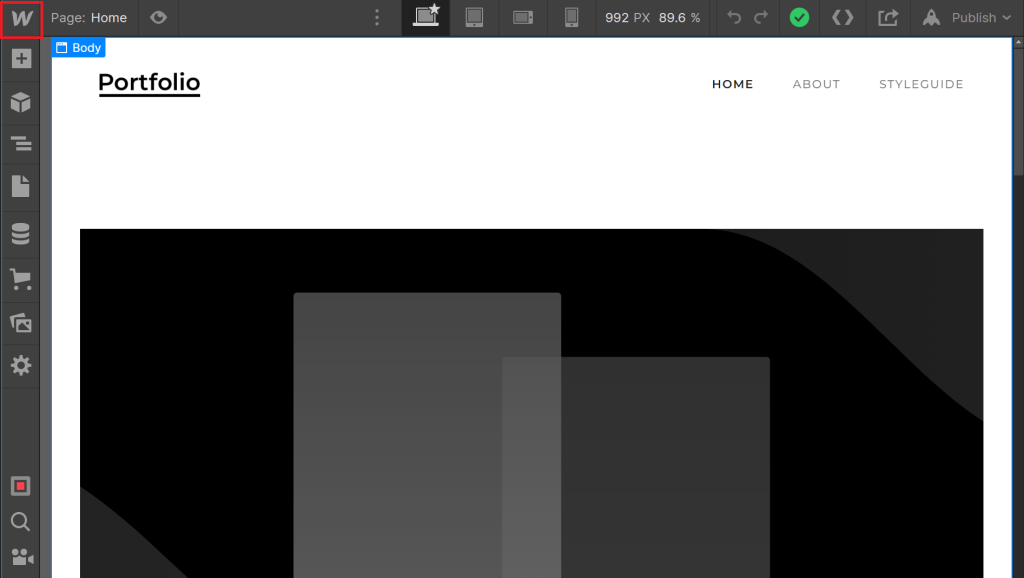
Go to Webflow dashboard. Select the Webflow icon in the top left of the dashboard.
Step 3
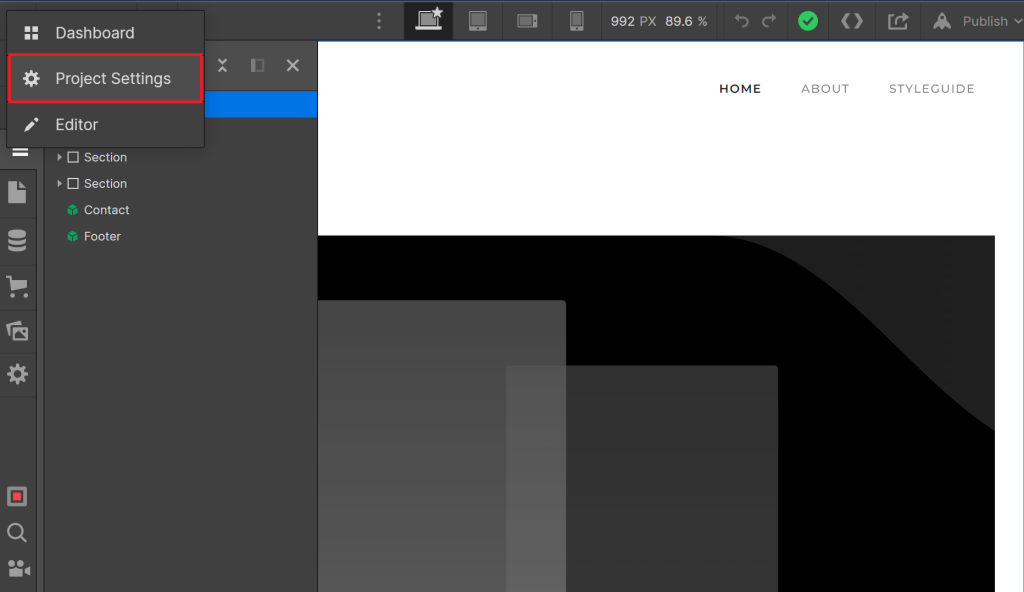
Select Project Settings.
Step 4
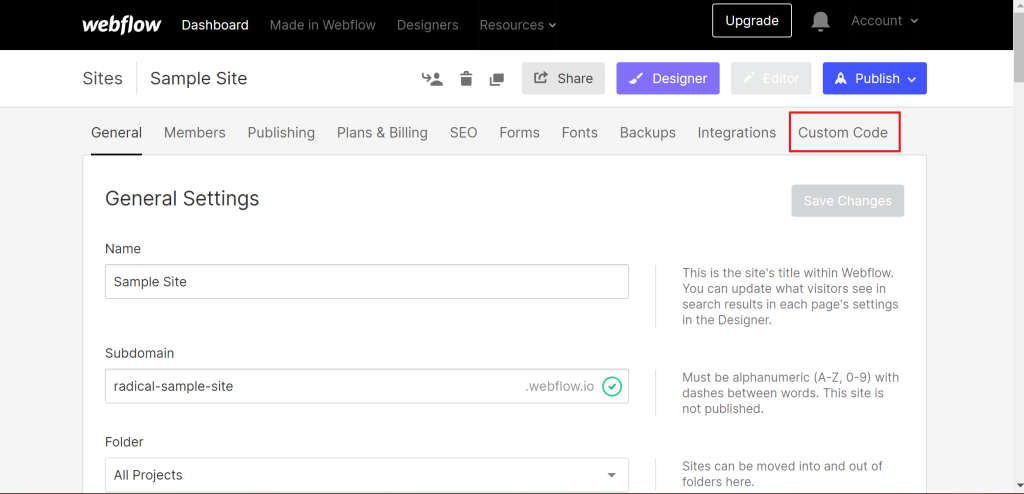
Select Custom Code.
Step 5
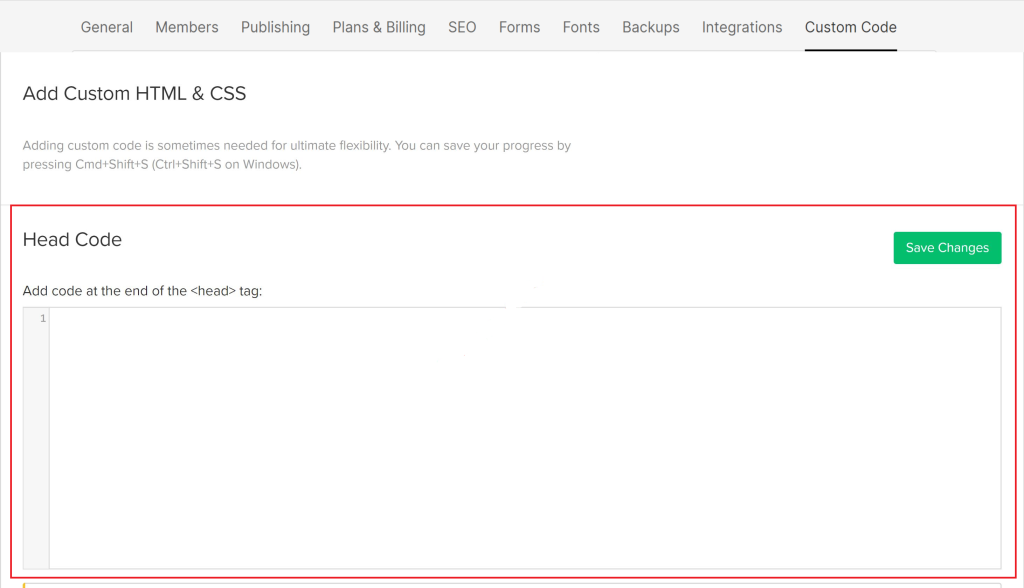
Paste your Clarity Tracking Code into the Head Code box. Select Save Changes.
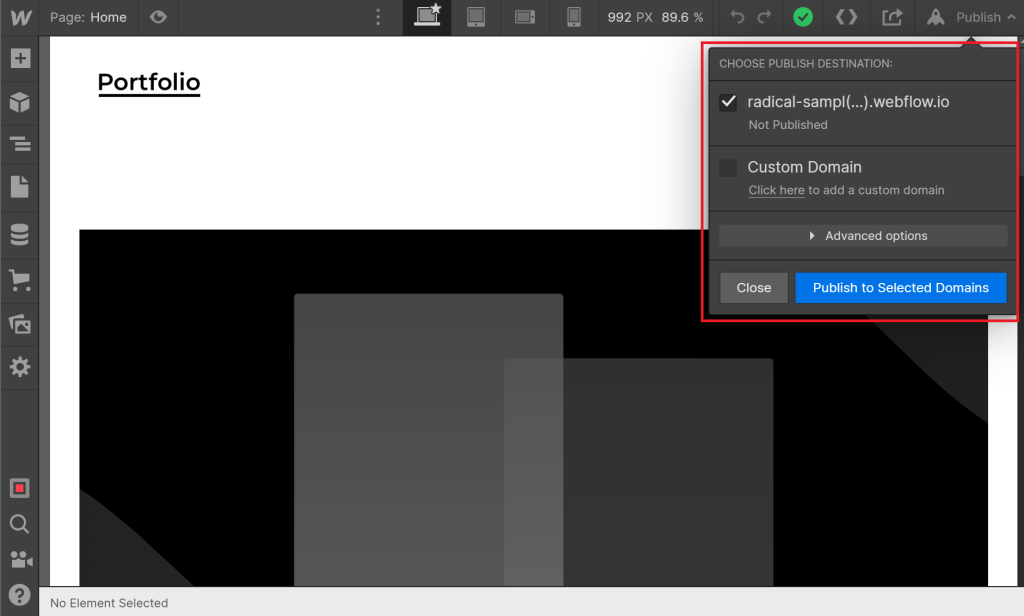
Step 6
On your project settings page, choose Publish. From the drop-down, select a Domain for the site listed in Clarity. Select Publish to Selected Domains.
Once setup you’ll be able to see Sessions Recordings, Heat Maps, traffic sources, visited pages, and more. With these insights, developing an intuitive website for your customers is much easier. By being able to directly see their user journey making swift changes to your website, and a/b testing in in the early stage is a breeze.