
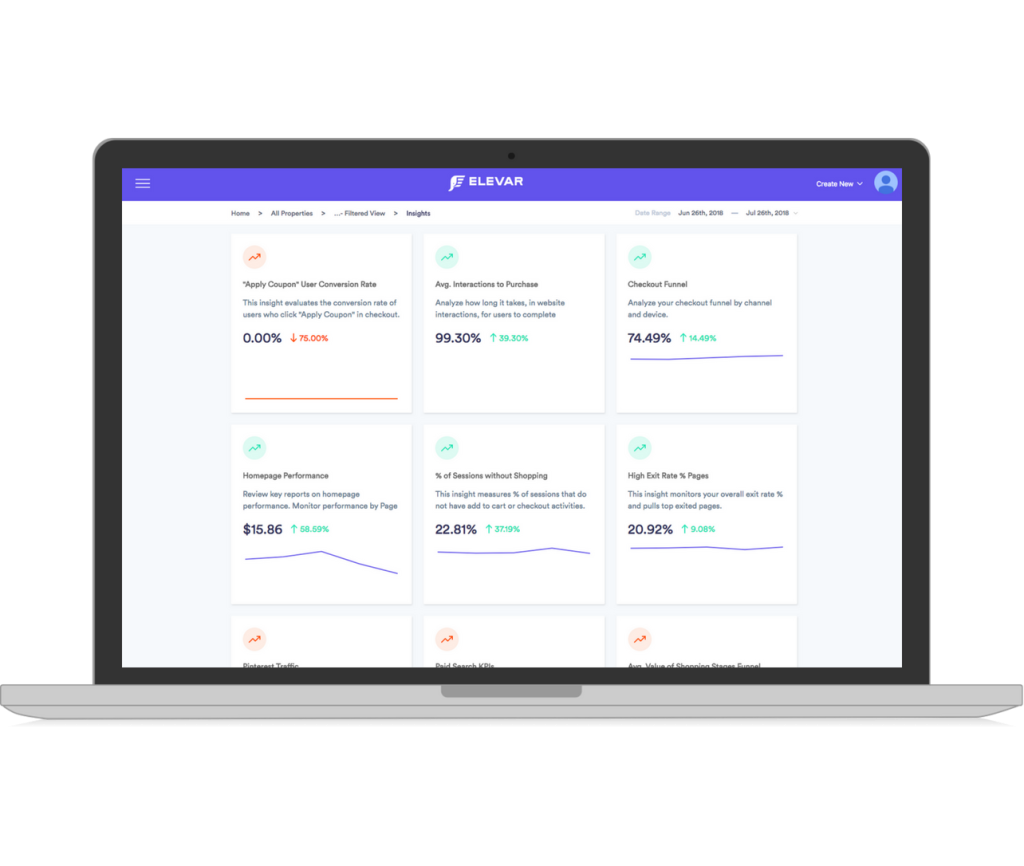
Understanding data, conversions, and customer journeys are key to making informed adjustments as well as understanding how people are using your product or website.
Elevar powers conversion tracking for direct-to-consumer brands on Shopify and Shopify Plus that rely on accurate data to make strategic business decisions. They do this by unlocking the latest in tracking methodologies with server-side tracking.
They transform shopping behavior into structured trackable events with attribution like UTM parameters, click ID’s, and customer data. You can connect your analytics tracking and marketing destinations like social media conversion APIs that rely on first-party customer data to match clicks to conversions. Once these events are captured, they can be directed to any ad or analytics platform the merchant relies on and needs to connect with in the format required by those platforms.
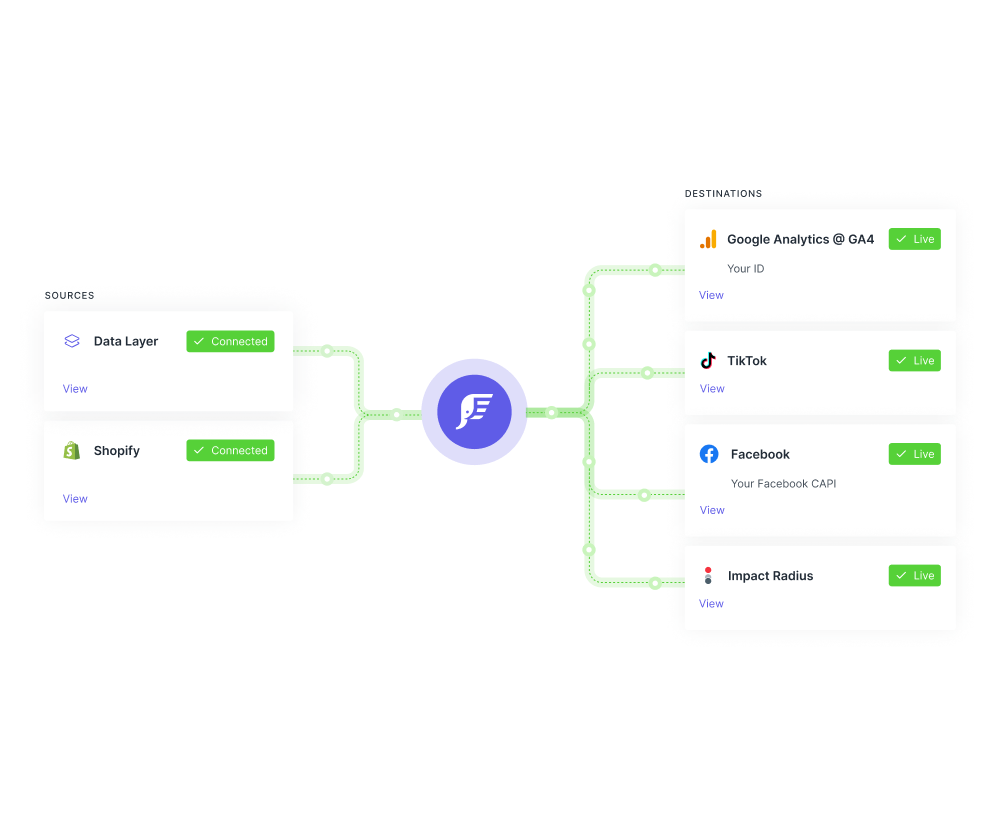
Once live, Elevar pushes 100% of consumer shopping and conversion data to the marketing channels. This data helps optimize the algorithms used by these channels to improve ad performance.
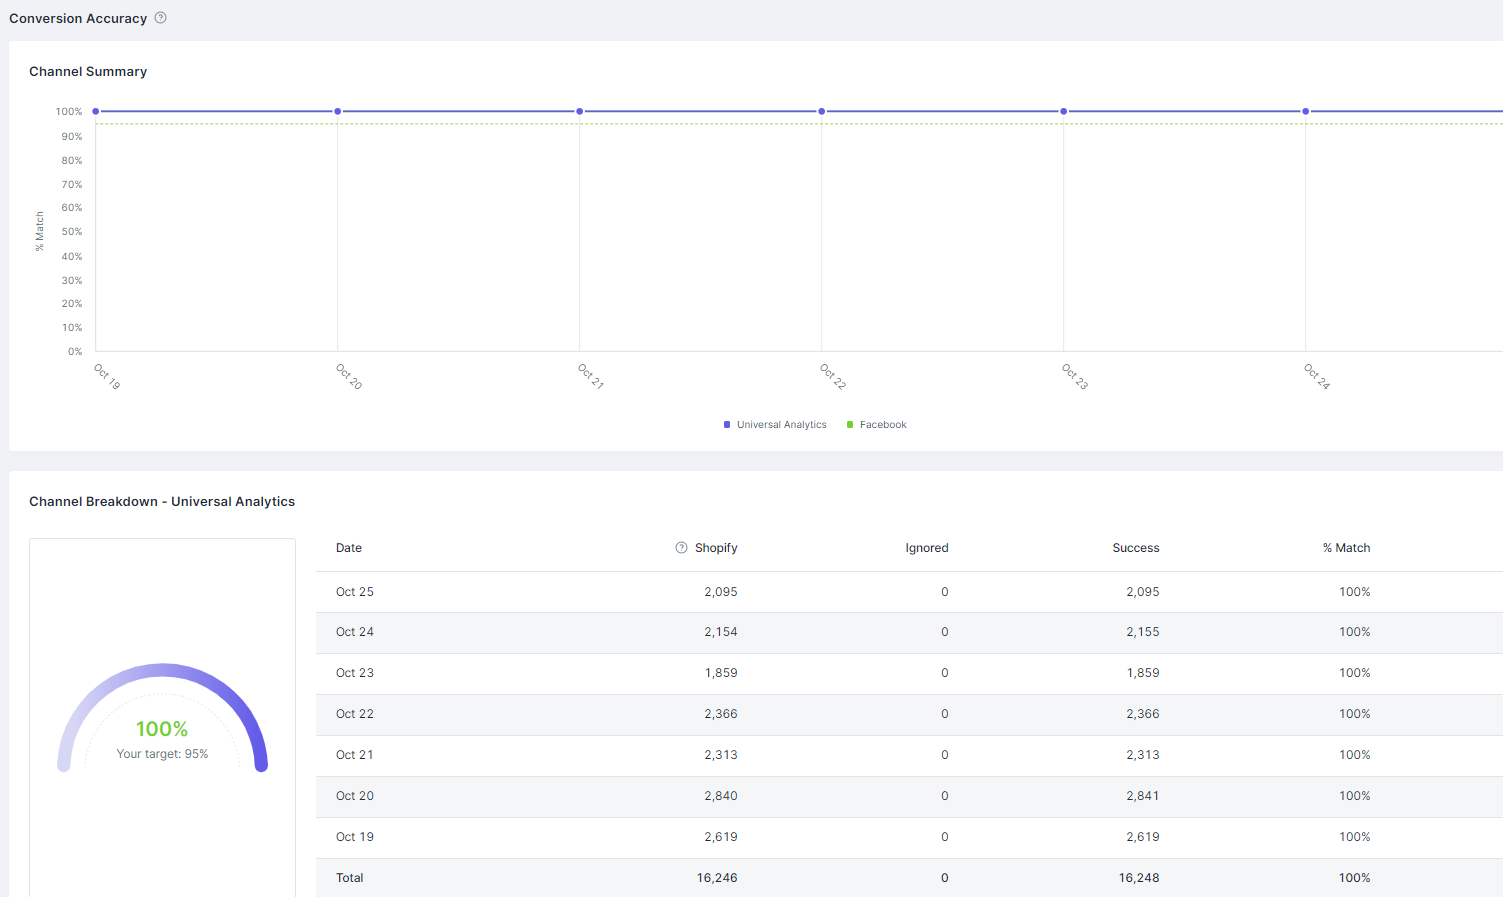
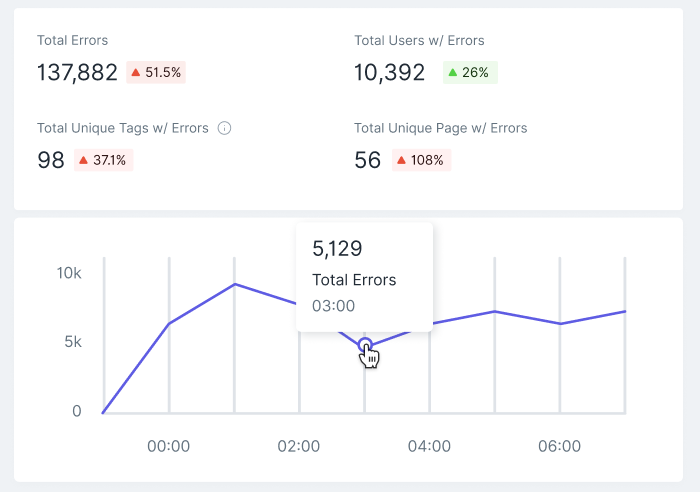
Elevar also has tag error reporting, channel accuracy reporting (to ensure all channels receive the data collected), and some attribution reporting.
Elevar offers an integration with Microsoft Clarity, adding behavior analytics insights in the form of Heatmaps, Screen Recordings, and behavior-focused insights. By combining Elevar’s conversion tracking capabilities with Clarity’s behavior analytics insights, you’ll be able to make better data-driven decisions as a marketer, analyst, or Shopify brand owner. Here’s how to get started with adding Clarity to Elevar.
Step 1:
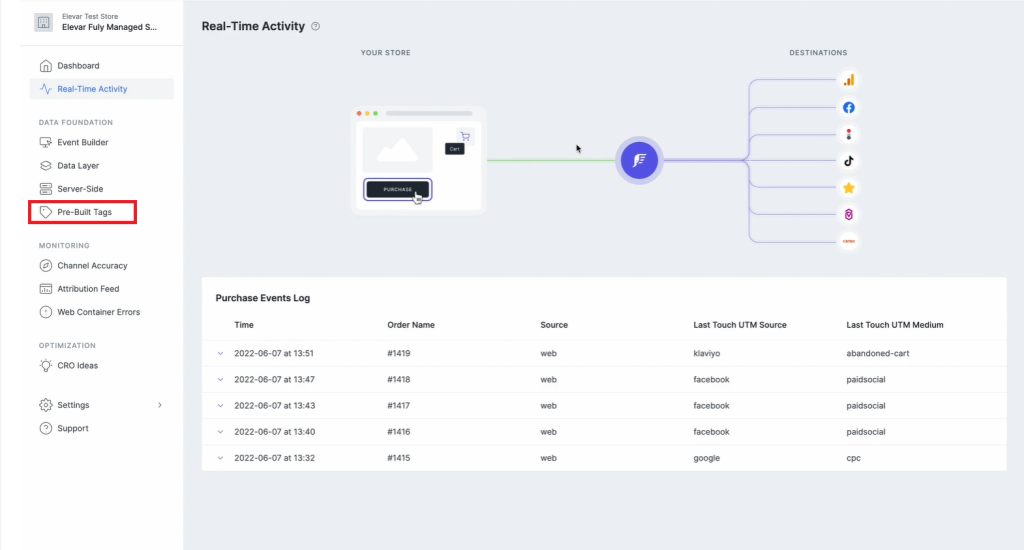
In your Elevar App, go to Pre-Built Tags.
Step 2:
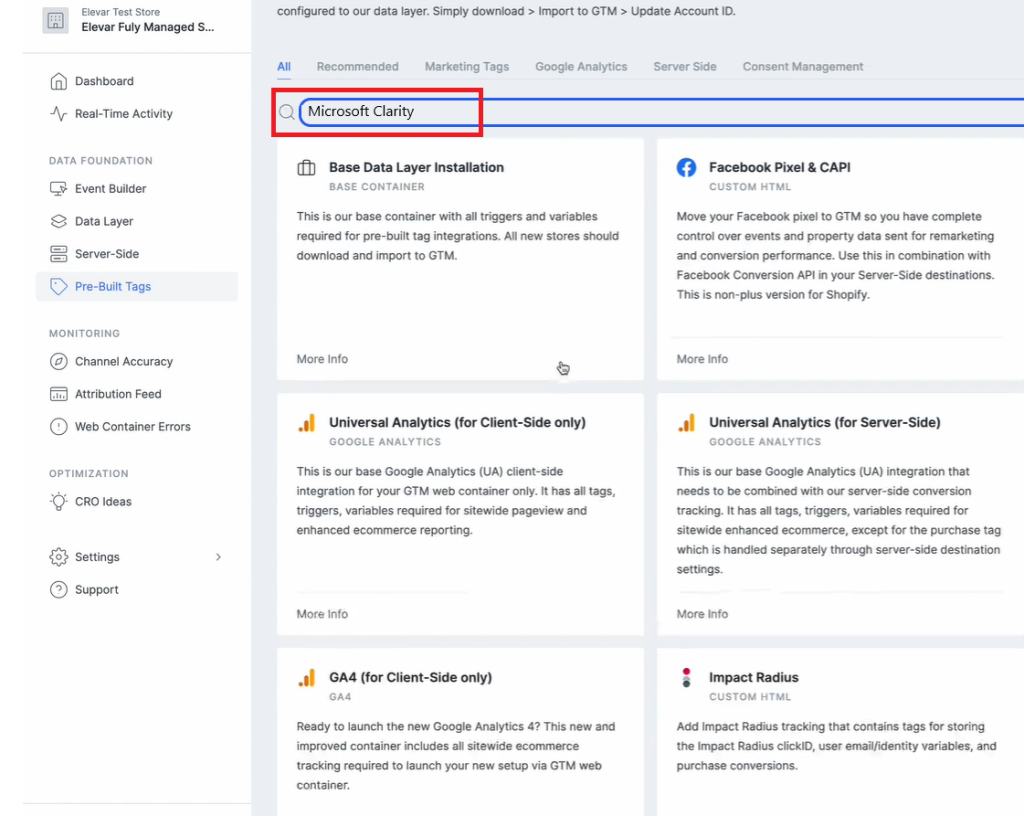
In the Search bar, search for Microsoft Clarity.
Step 3:
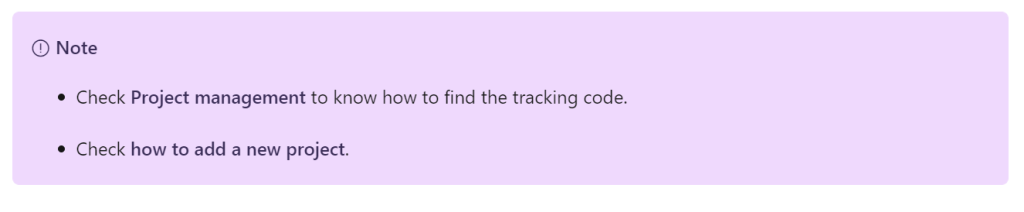
Locate your Clarity Project ID and copy it by following the below instructions:
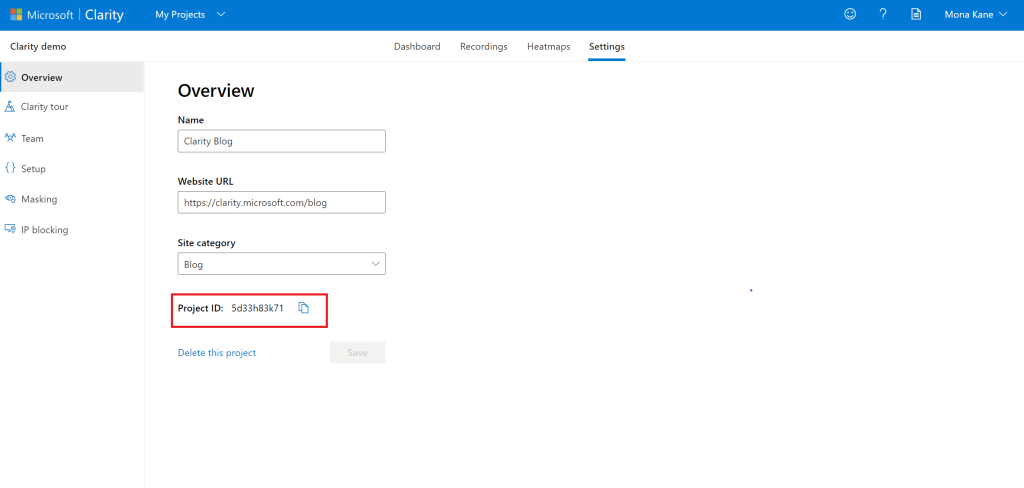
- From the Clarity dashboard, go to Settings.
- Select Overview from the left panel.
- Copy the Project ID (for example, 55u86t0118).
Step 4:
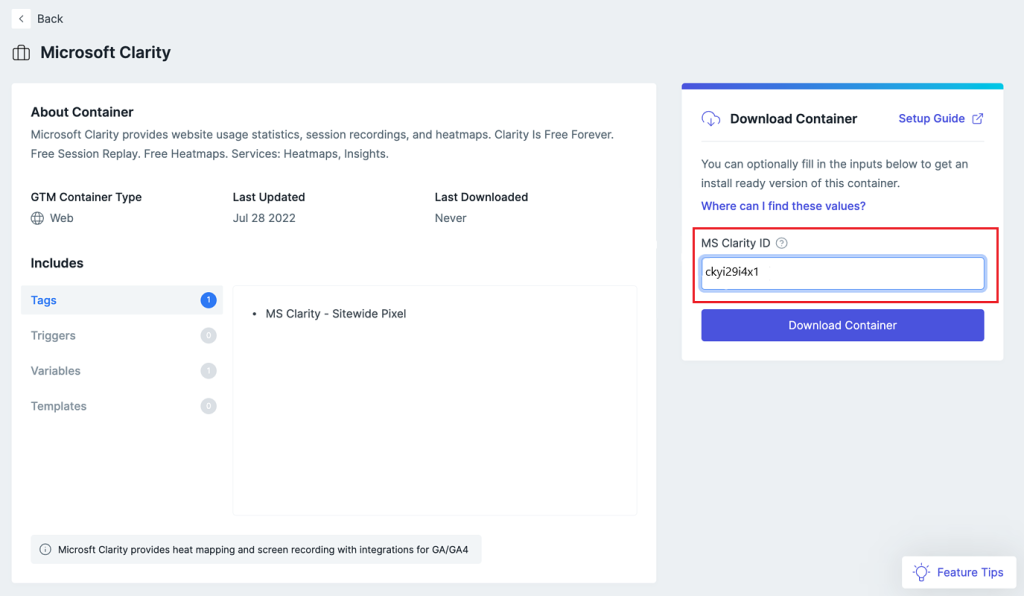
Paste the Clarity Project ID into MS Clarity ID. Select Download Container.
Step 5:
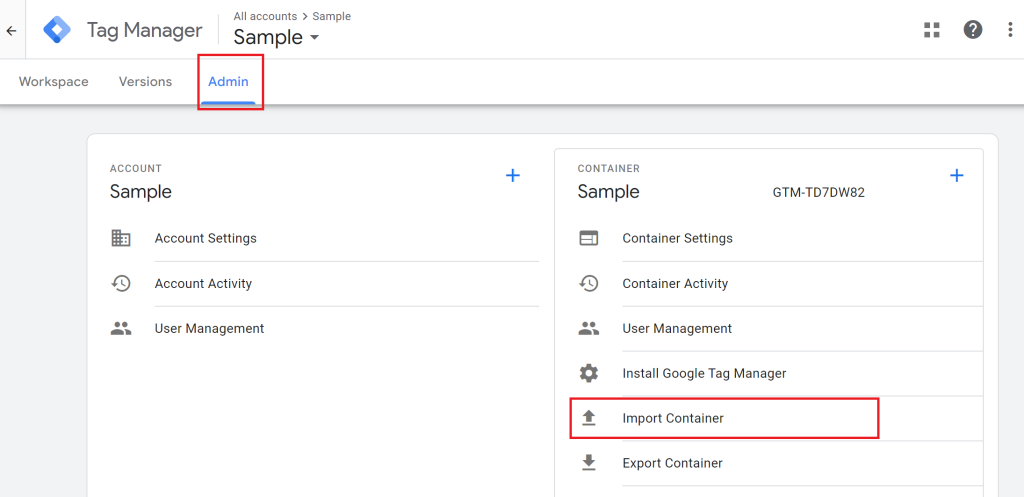
Sign in to your Google Tag Manager Account. Go to GTM Web Container. Select Admin > Import Container.
Step 6:
Select to import the file you downloaded in Step 4. Create a New Workspace and name it Microsoft Clarity Tracking. In Choose an import option, select Merge > Overwrite conflicting tags, triggers, and variables.
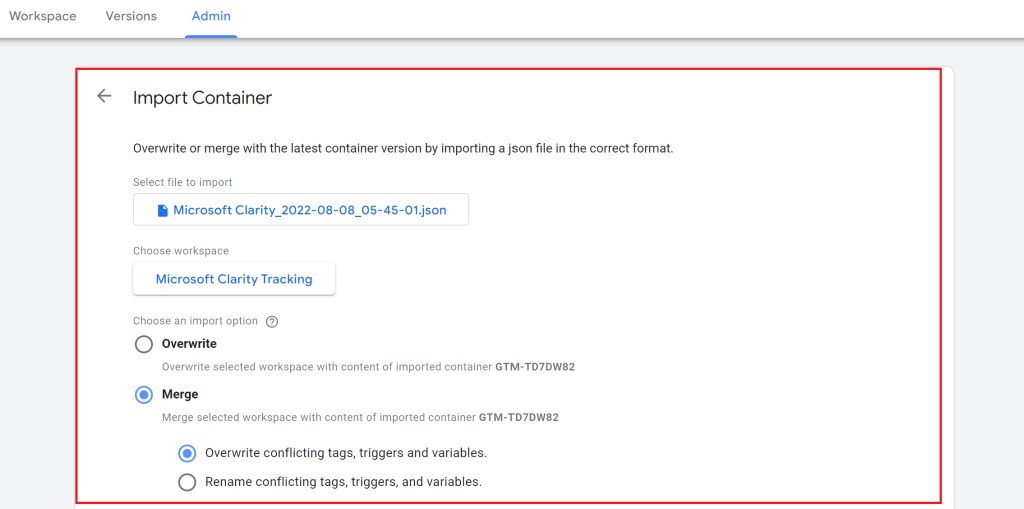
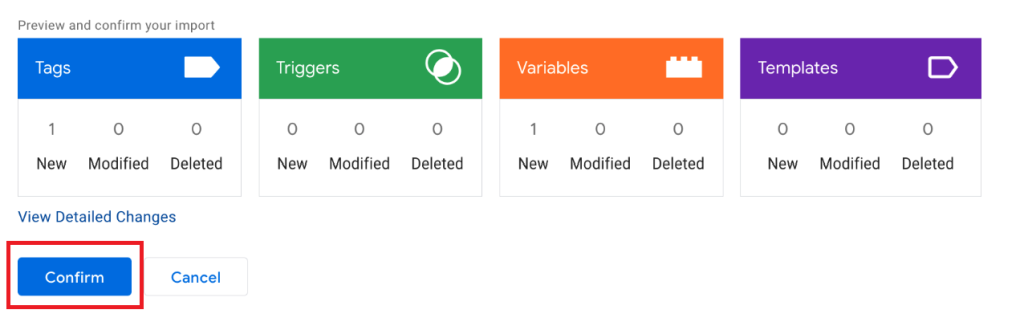
Select Confirm to import tags.
Step 7:
Go to Workspace. Select Microsoft Clarity Tracking in CURRENT WORKSPACE.
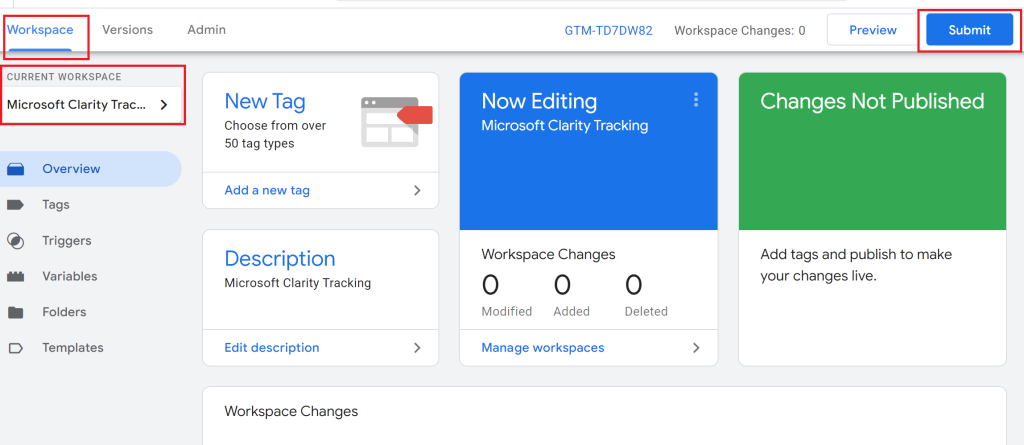
Select Submit.
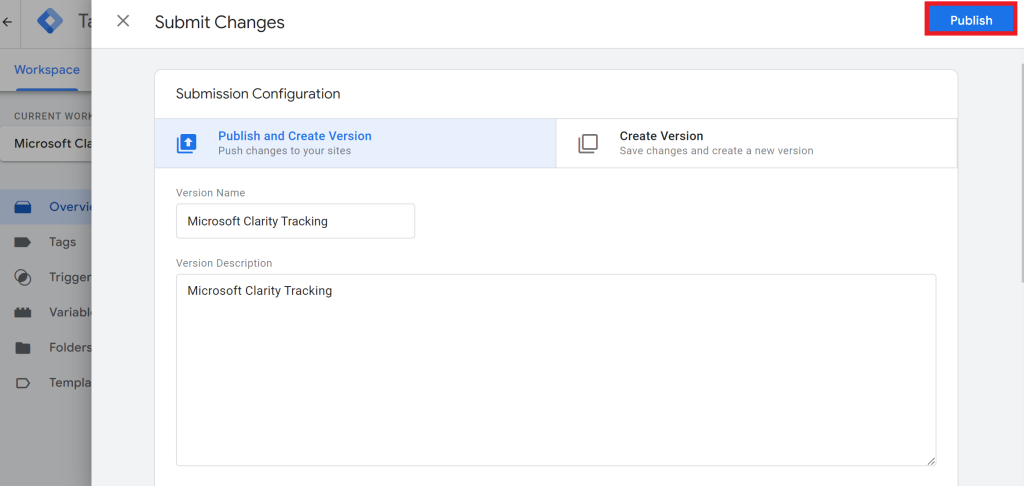
Step 8:
Select Publish to save Submission Configurations and set your tracking live.
Start viewing Recordings, Heatmaps, and Dashboard data in a few hours.